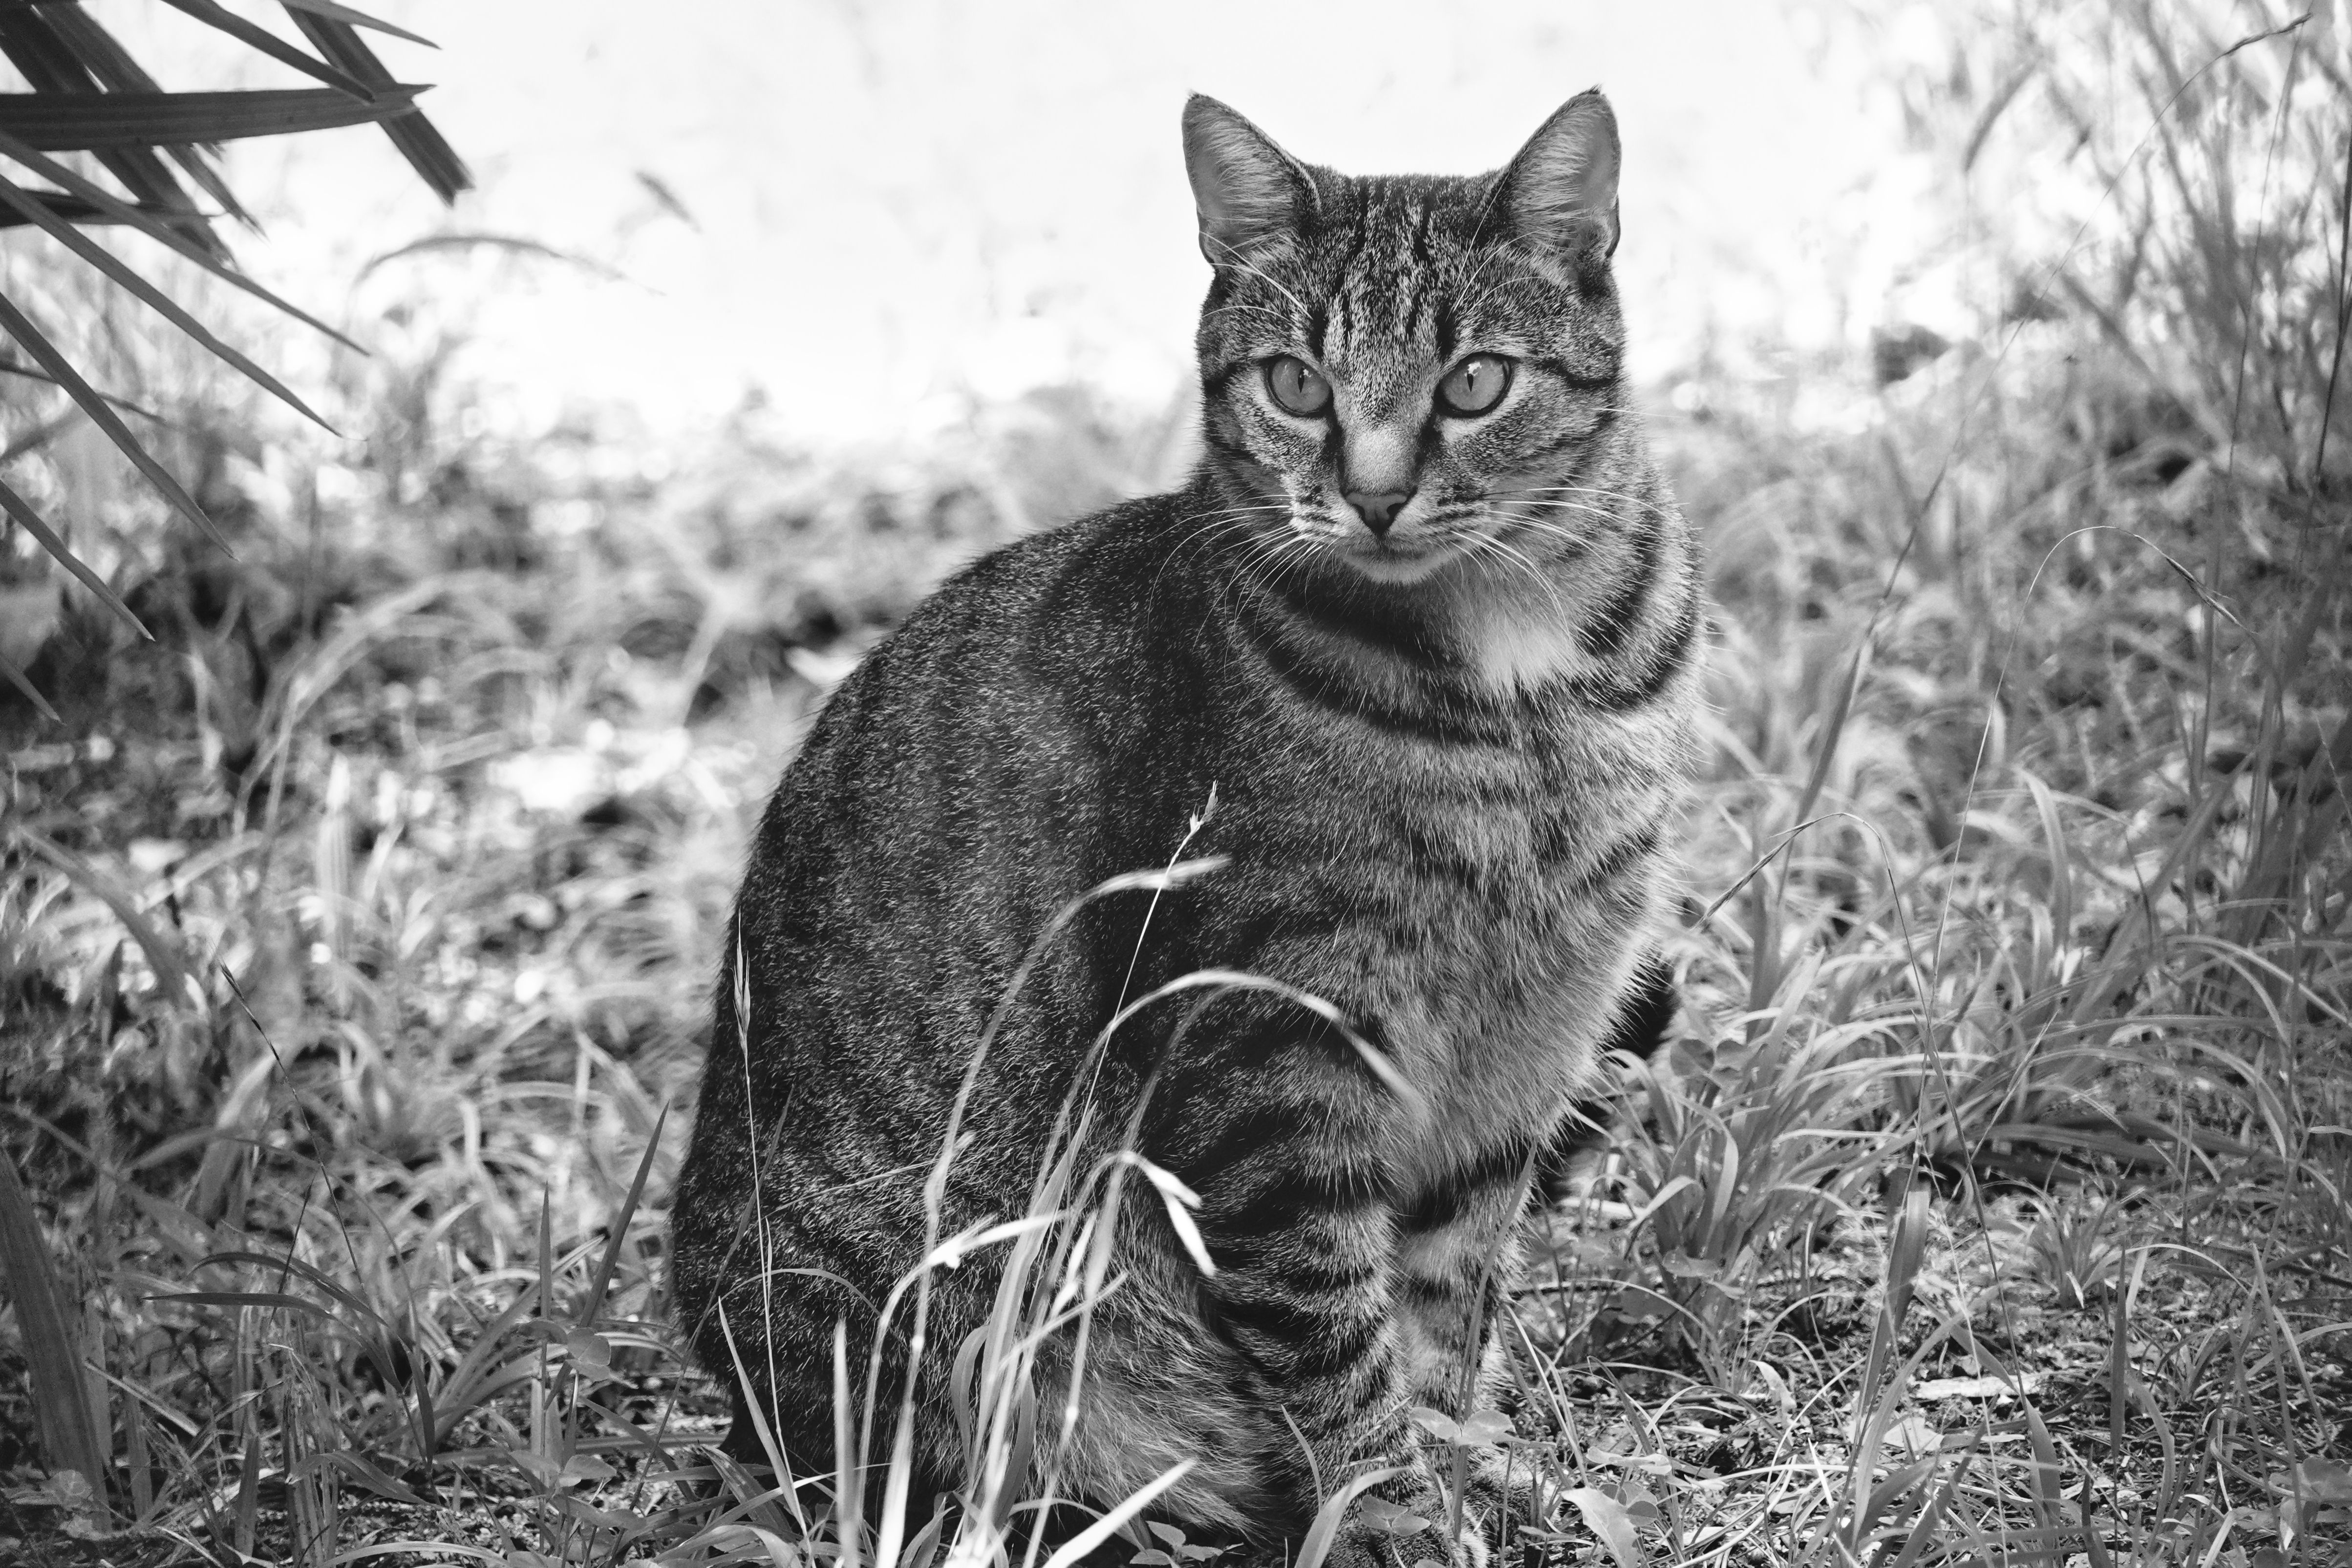
A printed photo was found on Alex's desk (see Exercise 01). The
original digital copy is on file with IT, along with a recorded checksum used to
confirm files haven't been altered. Your job: confirm whether the copy you've been
given still matches what's on record — and if it doesn't, work out why. This is a
basic introduction to digital forensics and file integrity checking.
// STEP 1 — DOWNLOAD THE EVIDENCE COPY
Download the file below. It's a normal, safe photo.
IT ASSET REGISTER — SHA256 ON FILE:a3f3998db07ad68cec6b3d60944cecca1007305ede37bc3b2bb8f8ddc340bfd3
// STEP 2 — CALCULATE ITS CHECKSUM
A checksum (or "hash") is a short fingerprint calculated from every byte in a
file. Change even one byte, and the checksum comes out completely different.
Use CyberChef — a free browser-based toolkit built by GCHQ — to calculate the
file's SHA-256 checksum:
Open CyberChef using the button below.
In the Operations list (top-left), search for
SHA2 and drag it into the Recipe area.
Click the paperclip/folder icon above the Input box to
open a file as input, and select the photo you downloaded.
Compare the checksum CyberChef calculates against the one recorded above.
If the checksums don't match, the file isn't identical to the one on record —
something has been added or altered. Open the downloaded file in a plain text
editor instead of an image viewer, and look at the very end of the file for
anything readable.
Windows: right-click the file → Open with →
Notepad, then press Ctrl + End to jump to
the bottom.
Mac: right-click the file → Open With →
TextEdit. If it opens as a picture instead of text, open TextEdit
first, then use File → Open and choose the photo.
Prefer CyberChef? Use the "Open file as input" button again,
remove the SHA2 operation from the Recipe, and just read the raw Input panel —
it shows the file's text content directly.
New to this? Here's exactly how to approach it: don't try to open the
photo the normal way (double-clicking it, which opens a picture viewer).
Instead, open it with a plain text editor like Notepad, the same way
you'd open a .txt file. Almost everything you see will look like
meaningless scrambled symbols — that's completely normal, it's just how
image data looks when a text editor tries to display it. Ignore all of
that. What you're actually looking for is any part that suddenly turns
into normal, readable English words — that's a sign something has been
hidden inside the file that shouldn't be there. It's usually easiest to
find by scrolling or jumping straight to the very end of the file,
since that's typically where extra hidden text gets added.
// STEP 4 — SUBMIT THE FLAG
Once you find the hidden message, type the flag exactly as written
(including the curly brackets) into the box below.
Why does this work? (click to expand)
A JPEG image file has a defined ending point in its binary data (a marker
called "End Of Image"). Programs that open photos stop reading at that point, so
they never notice if extra data has been added after it — the picture still looks
completely normal. But because a checksum is calculated from every single byte in
the file, adding anything at all — even a few lines of hidden text — changes the
checksum completely. That mismatch is exactly how real investigators first notice
a file has been tampered with, often before they even know what was changed.