This photo was recovered from Alex's phone — the last one taken
before they went dark. Photos taken on a phone usually carry hidden metadata
(called EXIF data) recording things like the date, time, camera
settings, and sometimes even GPS coordinates. Find out where — and when — this
photo was taken.
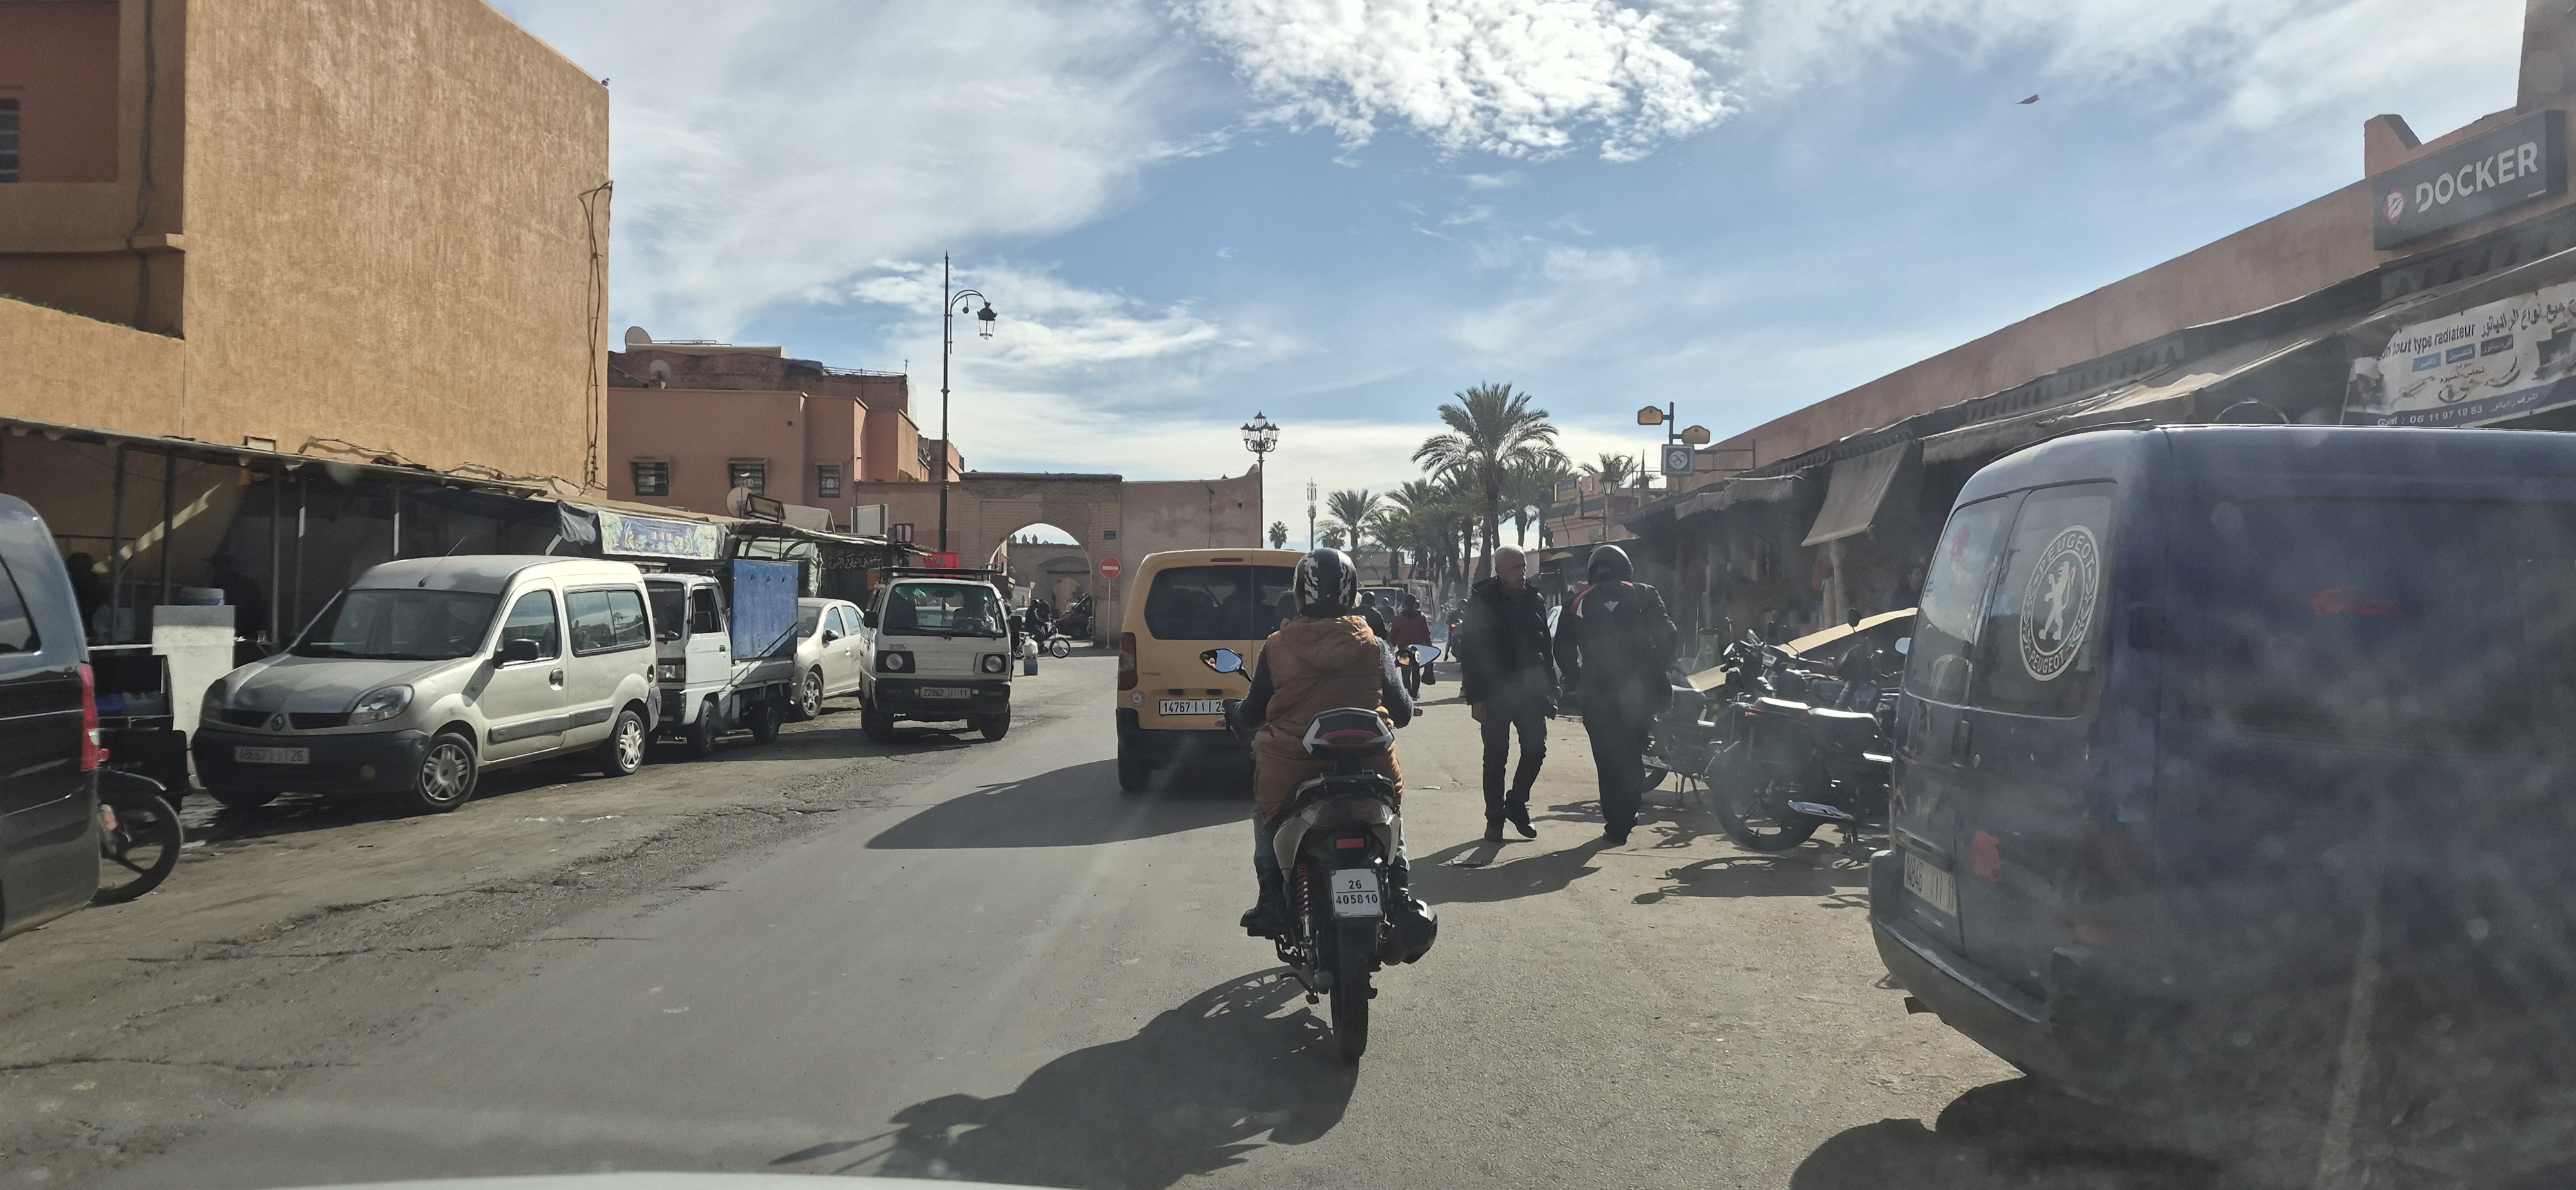
Last photo in the camera roll, recovered from the phone's gallery.
New to this? Here's exactly how to approach it: looking at the picture on this
page won't show you its hidden metadata — you need the actual photo file
itself, loaded into a tool that can read it. Right-click the photo above
(or press and hold, on a touchscreen) and choose something like
"Save image as…" to download the original file to your
computer. If that doesn't work,
click here to download it directly.
// STEP 1 — EXTRACT THE METADATA
Use CyberChef to pull the hidden EXIF data out of the file:
Open CyberChef using the button below.
In the Operations list, search for Extract EXIF
and drag it into the Recipe area.
Click the paperclip/folder icon above the Input box to
open a file as input, and select the photo you downloaded.
Look through the output for anything starting with GPS.
New to this? Here's exactly how to approach it: "metadata" just means
extra information a file carries about itself, hidden away from normal
view — for a photo, that can include the date and time it was taken,
what device took it, and sometimes the exact location. It's stored
inside the file but a normal photo viewer never shows it to you, which
is why you need a separate tool. In CyberChef, once you've dragged
Extract EXIF into the Recipe and loaded the photo as
input, the Output box on the right should automatically fill with a long
list of details. If it stays empty, look for a button labelled
Bake near the top of the Recipe area and click it — that
tells CyberChef to actually run the recipe you've built. Once you see
the output, scroll through it slowly and look for any line that starts
with the word GPS — there should be a few of them.
// STEP 2 — TURN COORDINATES INTO A PLACE
GPS metadata is usually given in degrees/minutes/seconds, e.g.
31 deg 37' 11.35" N, 7 deg 59' 27.78" W. Paste coordinates like
this directly into the search box of any online map (Google Maps,
OpenStreetMap, etc.) — most of them understand this format and will drop a
pin right on the location.
New to this? Here's exactly how to approach it: in the CyberChef output,
find these four lines — GPS Latitude,
GPS Latitude Ref, GPS Longitude and
GPS Longitude Ref. The "Latitude"/"Longitude" lines give
you the numbers; the "Ref" lines tell you N or S, and E or W — don't skip
those, or the pin will land on the wrong side of the equator or prime
meridian! Combine them into one line of text exactly like the example
above (numbers first, then N/S, comma, numbers again, then E/W), open a
new tab to Google Maps or a similar map site, paste that whole line into
the search box, and press enter. The map should jump straight to the
location and name the nearest city for you.
// STEP 3 — SUBMIT THE FLAG
Enter the flag as the city and country the pin landed on, in the format
FLAG{City,Country} (not case sensitive).
Why does this matter in the real world? (click to expand)
Photos shared online often still contain their original EXIF data,
including GPS coordinates — people have unintentionally revealed their home
address, workplace, or location while travelling just by posting an unedited
photo. Many social platforms strip this data automatically now, but not all
of them do, and forwarded or downloaded copies don't always go through that
process.